Welcome to the Nikon D5200 Instruction Manual. This guide provides essential information for operating your camera, including setup, shooting modes, and advanced features to enhance your photography experience.
1.1 Overview of the Nikon D5200 Camera
The Nikon D5200 is a versatile DSLR camera featuring a 24.1-megapixel DX-format CMOS sensor, delivering high-quality images with sharp details. It supports full HD video recording, various shooting modes, and an intuitive interface. Equipped with the EXPEED 3 image processor, it ensures fast performance and excellent low-light sensitivity. The camera also boasts a 3-inch vari-angle LCD screen for flexible composition.
1.2 Importance of Reading the Manual
Reading the Nikon D5200 manual is crucial for understanding its features, optimizing settings, and troubleshooting common issues. It provides detailed guidance on camera functions, shooting modes, and customization options, ensuring you maximize the camera’s potential and achieve the best results in various photography scenarios.

Getting Started with the Nikon D5200
Getting started with the Nikon D5200 involves unboxing, charging the battery, and familiarizing yourself with basic controls and initial setup procedures to begin capturing stunning images.
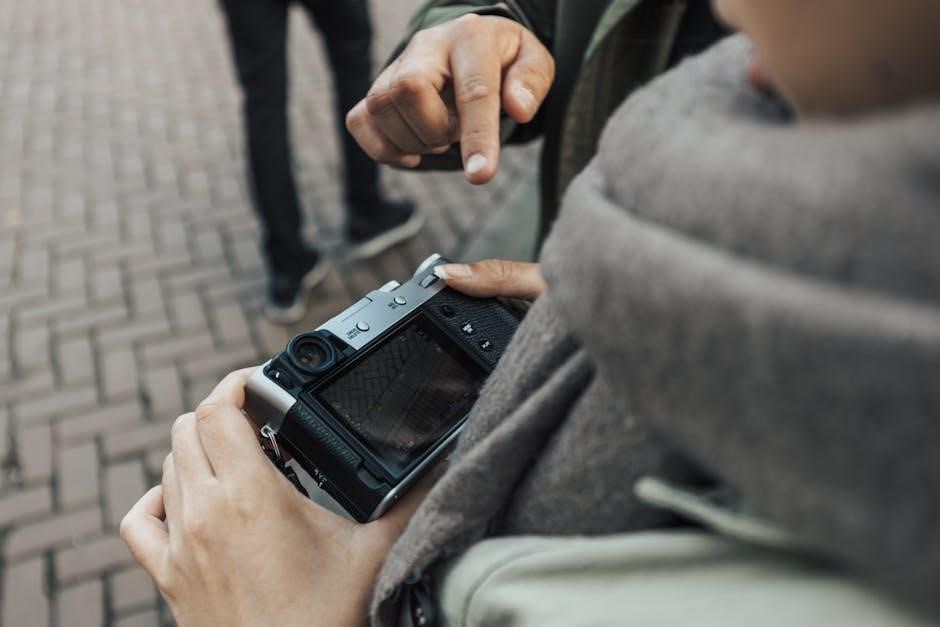
2.1 Unboxing and Initial Setup
Unboxing the Nikon D5200 reveals the camera body, lens, battery, charger, and accessories. Initial setup includes inserting the battery, memory card, and adjusting basic settings like date, time, and language to ensure a smooth start with your photography journey.
2.2 Charging the Battery and Inserting the Memory Card
Charge the battery using the provided charger until the indicator shows it’s fully charged. Insert the memory card into the camera’s slot, ensuring it’s securely seated and formatted for optimal performance. This setup ensures your camera is ready for capturing high-quality images effortlessly.
2.3 Basic Camera Controls and Layout
The Nikon D5200 features an intuitive control layout. The mode dial on top allows quick access to shooting modes, while the shutter release button is centrally located for easy operation. Key controls include the aperture and ISO buttons, ensuring quick adjustments. The camera’s ergonomic design provides comfortable handling and efficient access to essential functions for seamless photography.
Shooting Modes and Settings
Explore the Nikon D5200’s shooting modes, including Auto, Scene, and Manual options, alongside ISO, aperture, and shutter speed adjustments for creative and precise photography control.
3;1 Understanding Auto Mode and Scene Modes
The Nikon D5200 offers Auto Mode for effortless shooting and Scene Modes for specific situations like portraits, landscapes, and sports. Auto Mode simplifies photography by automatically adjusting settings, while Scene Modes optimize camera parameters for various themes, ensuring high-quality images with minimal user intervention.
3.2 Manual Mode (M) and Custom Settings
Manual Mode (M) on the Nikon D5200 gives full control over ISO, aperture, and shutter speed, allowing photographers to customize settings for precise results. Custom settings can be saved for quick access, enhancing shooting efficiency and personalizing the camera to individual preferences for optimal performance in various photographic scenarios.
3.3 Adjusting ISO, Aperture, and Shutter Speed
Adjusting ISO, aperture, and shutter speed on the Nikon D5200 allows precise control over exposure. ISOensitivity affects light sensitivity, aperture regulates depth of field, and shutter speed controls motion capture. Fine-tuning these settings enables photographers to achieve desired effects, such as freezing action or creating blur, ensuring optimal image quality in various lighting conditions and creative scenarios.
Autofocus Configuration
Autofocus configuration on the Nikon D5200 enables precise control over focus modes and area selection. Customize settings to optimize performance for various subjects and shooting scenarios.
4.1 Focus Modes: Single AF, Continuous AF, and Manual Focus
The Nikon D5200 offers three focus modes: Single AF for stationary subjects, Continuous AF for moving subjects, and Manual Focus for precise control. Each mode ensures sharp images by adapting to different shooting scenarios, allowing photographers to capture moments with accuracy and creativity.
4.2 AF-Area Modes: Single Point, Dynamic Area, and 3D Tracking
The AF-Area modes enhance focusing flexibility. Single Point targets a specific area, Dynamic Area adjusts for moving subjects, and 3D Tracking follows subjects across the frame. These modes optimize autofocus performance, ensuring precise subject tracking and sharper images in various shooting conditions.
4.3 Fine-Tuning Autofocus for Precision
Fine-tuning autofocus on the Nikon D5200 ensures accurate focus with specific lenses. Use the AF Fine Tuning option in the Setup Menu to adjust focus calibration. This feature is particularly useful for lenses that consistently front or back-focus, optimizing sharpness and precision in your images.
Menu Functions and Customization
Navigate and customize the Nikon D5200’s menu system to tailor settings for your shooting style. Adjust shooting, setup, and playback options to optimize camera performance and personal preferences.
5.1 Navigating the Camera Menu System
Access the Nikon D5200’s menu by pressing the Menu button. Use the multi-selector to navigate through options like Shooting, Setup, and Playback menus. Highlight settings with the OK button and adjust using the multi-selector or main command dial. Customize functions to streamline your workflow and enhance shooting efficiency.
5.2 Customizing Shooting Menu and Setup Menu Options
Customize the Shooting Menu to personalize settings like Image Quality, White Balance, and ISO Sensitivity. In the Setup Menu, adjust options such as Auto Image Rotation, Language, and Firmware Version. Tailor these settings to suit your preferences for enhanced convenience and shooting performance.
5.3 Saving and Resetting Custom Settings
Access the Shooting Menu to save custom settings for quick recall. Use the Custom Setting option to store preferred configurations. To reset settings, navigate to the Setup Menu and select “Reset Custom Settings.” This restores default values, ensuring consistency and optimizing camera performance for various shooting scenarios.

Firmware Updates and Maintenance
Regularly check for firmware updates to ensure optimal camera performance. Updates can be installed via memory card or USB. Follow on-screen instructions carefully for a smooth process.
6.1 Checking for Firmware Updates
To ensure your Nikon D5200 performs optimally, regularly check for firmware updates. Connect your camera to a computer or use the Nikon Manual Viewer 2 app. Visit the Nikon website, navigate to the support section, and follow the on-screen instructions to verify if updates are available for your device.
6.2 Updating Firmware via a Memory Card or USB
Update your Nikon D5200 firmware using a memory card or USB. Format the memory card in the camera, then download the firmware from Nikon’s website. Save the firmware file in a folder named “D5200” on the card’s root directory. Insert the card into the camera and follow the on-screen instructions to complete the update via USB if needed.
6.3 General Camera Maintenance Tips
Regularly clean the Nikon D5200’s sensor and lens with a soft brush and microfiber cloth to prevent dust buildup. Store the camera in a dry, cool place away from direct sunlight. Use a high-quality memory card and avoid extreme temperatures. Ensure firmware is up-to-date for optimal performance and compatibility with new features and accessories.

Troubleshooting Common Issues
Troubleshoot common issues like error messages, autofocus malfunctions, and exposure problems by resetting settings, cleaning the sensor, or updating firmware. Address memory card and battery-related issues promptly for smooth operation.
7.1 Resolving Err Messages and Camera Malfunctions
Address error messages by checking firmware updates, resetting camera settings, or cleaning the sensor. For malfunctions, restart the camera, ensure proper lens attachment, and verify battery health. Consult the manual or Nikon support for detailed solutions to specific issues, ensuring optimal performance and resolving problems efficiently.
7.2 Fixing Autofocus and Exposure Problems
To resolve autofocus issues, ensure the lens is clean, check focus mode settings, and calibrate if necessary. For exposure problems, verify settings, clean the sensor, and use exposure compensation. If issues persist, reset camera settings or consult the manual for advanced troubleshooting steps to restore proper functionality.
7.3 Solving Memory Card and Battery-Related Issues
For memory card issues, ensure compatibility, format the card in-camera, and clean contacts. If battery life is short, charge fully, avoid overcharging, and use genuine Nikon batteries. Reset the camera if problems persist. Always use recommended accessories to maintain optimal performance and prevent hardware-related malfunctions.

Advanced Features and Techniques
Explore advanced modes like HDR, interval shooting, and time-lapse photography. Master video recording, Live View, and bracketing for enhanced creative control and professional results.
8.1 Using HDR and Interval Shooting
Utilize HDR to capture high dynamic range images by combining multiple exposures. Interval shooting allows you to take photos at set intervals, perfect for time-lapse sequences. Both features enhance your creative possibilities and deliver stunning results in various lighting conditions and scenarios.
8.2 Bracketing and Time-Lapse Photography
Bracketing captures multiple exposures at different settings, ideal for HDR. Time-lapse photography shoots intervals to create dynamic sequences. Use these features to enhance your creative workflow, capturing stunning imagery in varying lighting conditions and scenarios with precision and ease.
8.3 Mastering Video Recording and Live View
Master video recording by setting manual controls for exposure, ISO, and focus. Live View mode allows real-time preview on the LCD screen, enabling precise framing and focusing. Use these tools to capture high-quality video and stills, enhancing your storytelling and creative vision with the Nikon D5200.

Specifications and Technical Details
The Nikon D5200 features a 24.1MP APS-C CMOS sensor, capturing high-resolution images. It supports full HD video recording, ISO 100-6400, and compatibility with Nikon F-mount lenses and accessories.
9.1 Camera Sensor and Image Processing
The Nikon D5200 is equipped with a 24.1-megapixel APS-C CMOS sensor, delivering high-resolution images with excellent detail. The EXPEED 3 image processor enhances performance, offering improved noise reduction, faster operation, and superior color reproduction for both stills and Full HD videos.
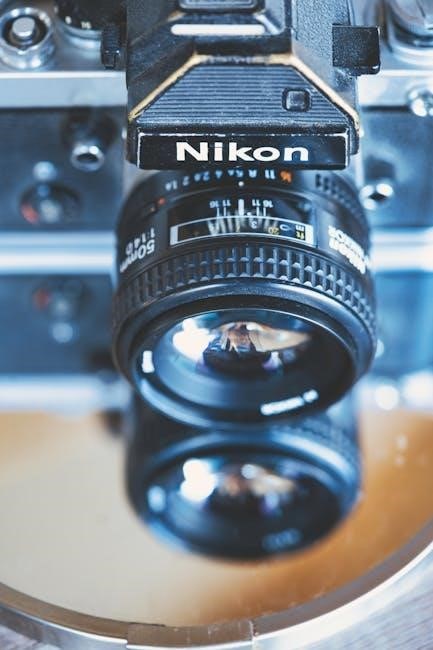
9.2 Lens Compatibility and Accessories
The Nikon D5200 is compatible with AF-S and AF-D Nikkor lenses, ensuring versatile shooting options. Popular choices include the 18-55mm VR kit lens and 55-200mm telephoto. Accessories like the ME-1 microphone, MB-D14 battery grip, and Speedlight flashes enhance functionality. The camera also supports Nikon’s range of wireless remote controls and camera apps for expanded creativity.
9.3 Video and Audio Capabilities
The Nikon D5200 supports Full HD video recording at 1080p, with frame rates up to 60i. Manual focus during recording ensures precise control, while the built-in microphone captures clear audio. For enhanced sound quality, an external microphone can be connected via the 3.5mm jack, making it ideal for videographers seeking professional-grade video and audio performance.

Additional Resources and Support
Explore Nikon’s official website for the D5200 PDF manual, customer support, and online communities. Utilize Nikon’s resources for troubleshooting, firmware updates, and expert guidance to enhance your photography experience.
10.1 Downloading the Nikon D5200 PDF Manual
Download the Nikon D5200 PDF manual from Nikon’s official website or through the Nikon Manual Viewer 2 app. The manual is compatible with Adobe Reader and provides detailed instructions for camera operation, settings, and troubleshooting. Visit the support section on Nikon’s website for direct links to the PDF and additional resources.
10.2 Accessing Nikon Customer Support
Nikon Customer Support is accessible through their official website, phone, or email. Visit the Nikon support page for live chat, troubleshooting guides, and repair services. Additionally, the Nikon Manual Viewer 2 app offers direct access to product manuals and FAQs, ensuring comprehensive assistance for your Nikon D5200 needs.
10.3 Online Communities and Forums
Engage with online communities like Nikon’s official forums, Facebook groups, and Reddit for D5200 users. These platforms offer tips, troubleshooting, and feedback from experienced photographers. Additionally, Nikon’s Manual Viewer 2 app provides access to guides and FAQs. Participating in these forums fosters learning and connects you with enthusiasts worldwide for shared knowledge and inspiration.
Mastering the Nikon D5200 requires practice and creativity. Explore its features, experiment with modes, and stay updated with firmware. Continuous learning enhances your photography skills and ensures unforgettable captures.
11.1 Maximizing Your Nikon D5200 Experience
To maximize your Nikon D5200 experience, explore its advanced features, experiment with shooting modes, and regularly update firmware. Practice techniques like HDR, interval shooting, and manual focus for precision. Customize settings to suit your style and review your work to refine your skills. Continuous learning and experimentation will elevate your photography to new heights.
11.2 Continuous Learning and Improvement
Continuous learning and improvement are key to mastering the Nikon D5200. Regularly update your firmware, explore online tutorials, and engage with photography communities. Practice new techniques, review your work, and stay curious about advanced features. Dedicated practice and exploration will help you unlock the full potential of your camera and enhance your creative vision.